
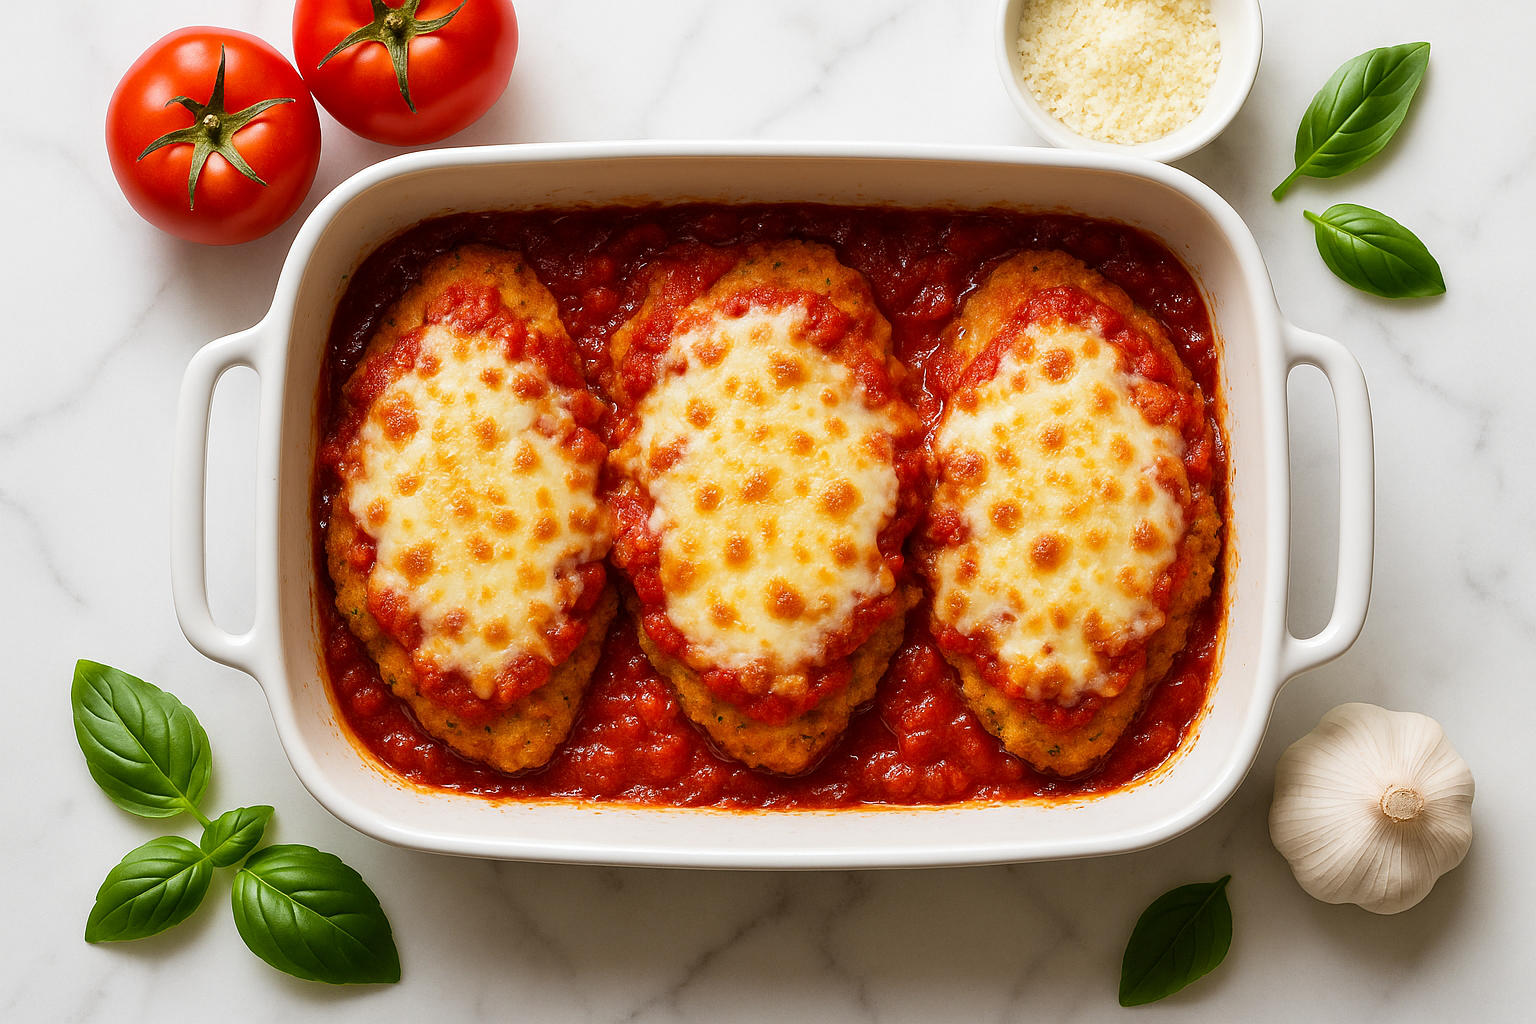
Experience the delightful contrast of textures with this baked chicken parmesan, featuring a crunchy breadcrumb crust enveloping succulent, tender chicken. As it bakes, the enticing aroma of bubbling cheese and savory tomato sauce fills the air, creating a warm and welcoming atmosphere. This recipe caters to those who wish to savor a beloved Italian classic without dedicating excessive time to preparation. By following a straightforward process, you can create a dish that is both comforting and visually appealing, perfect for any occasion.
Why This Recipe Works
- Baking the chicken instead of frying reduces the mess and oil usage, while still achieving a crispy crust through the use of panko breadcrumbs.
- Using a combination of mozzarella and parmesan cheese ensures a gooey melt and a sharp, savory finish, enhancing the overall taste profile.
- By baking the chicken before applying the sauce, the breading retains its crispness, avoiding the soggy texture that can occur when sauce is added too early.
- Incorporating fresh basil at the end adds a burst of color and a fragrant, herbal note that complements the rich tomato sauce.
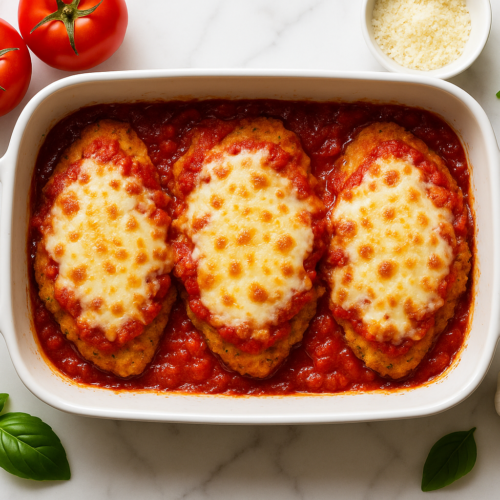
Easy Baked Chicken Parmesan
Ingredients
- 2 tbsp olive oil
- 4 pieces chicken breasts boneless, skinless
- 1 cup panko breadcrumbs
- 1/2 cup parmesan cheese grated
- 1 cup mozzarella cheese shredded
- 1 cup tomato sauce
- 1 tsp dried oregano
- 1/2 tsp salt
- 1/4 tsp black pepper
- 1/4 cup fresh basil chopped
Instructions
- Set your oven to 400°F (200°C) and allow it to fully preheat. Prepare a sturdy baking sheet by lining it with parchment paper. This step helps prevent the chicken from sticking and promotes even heat distribution, ensuring the chicken cooks uniformly without burning or drying out during the baking process.
- Thoroughly pat the chicken breasts dry using paper towels to remove excess moisture. This ensures the breadcrumbs stick effectively, resulting in a crispy, golden-brown crust. Proper drying is essential to achieve the desired texture and prevent sogginess during baking. Make sure no moisture remains on the surface before proceeding.
- In a shallow dish, thoroughly combine the panko breadcrumbs, parmesan cheese, salt, and black pepper. Stir the mixture until the ingredients are evenly distributed, ensuring the breadcrumbs are well-coated with the cheese and seasonings. This will create a uniform coating for the chicken, enhancing the texture and flavor profile.
- Begin by dipping each chicken breast into the olive oil, ensuring it is completely covered. Next, roll the chicken in the breadcrumb mixture, pressing down gently to make sure the coating adheres well. This step is crucial for achieving a crispy texture. Check that the breadcrumbs are evenly distributed and firmly attached before proceeding.
- Arrange the coated chicken breasts evenly on the prepared baking sheet, ensuring they do not touch. Bake in the preheated oven at 400°F for 15 minutes. During this time, the breadcrumbs should turn a golden brown, and the chicken should be partially cooked through, with juices running clear.
- Carefully take the pan out of the oven and gently spoon the tomato sauce over each chicken breast, ensuring an even layer. The sauce should cover the top of the chicken without soaking into the panko breadcrumbs, preserving their crisp texture. This step adds moisture and flavor to the dish.
- Distribute the mozzarella cheese evenly across the tomato sauce layer, ensuring full coverage. Place the pan back into the preheated oven and continue baking for another 10 minutes. During this time, the cheese should melt completely, becoming golden and bubbly. Check that the cheese has reached a desirable texture before removing from the oven.
- Use a meat thermometer to verify the chicken's internal temperature. Insert it into the thickest part of the chicken breasts, ensuring it reaches 165°F (74°C). This temperature confirms the chicken is fully cooked and safe to eat, preventing any risk of undercooked poultry.
- To achieve a golden, crisp finish, adjust the oven setting to broil for 2-3 minutes. Keep a vigilant eye on the chicken during this time, as the cheese can transition from perfectly browned to burnt rapidly. The broiling process should enhance the texture and appearance without compromising the dish's overall quality.
- Once the chicken is fully cooked and golden brown, take it out of the oven. Allow it to rest on the counter for about five minutes to let the juices redistribute. Just before serving, sprinkle fresh basil leaves over the top to enhance the dish's visual appeal and aroma.
Notes
Pro Tips
- For a crispier crust on your chicken, thoroughly pat it dry before applying the breadcrumb coating. Moisture left on the chicken can hinder the breadcrumbs from sticking effectively, resulting in a less crunchy texture after baking.
- If your chicken breasts are thick, consider pounding them to an even thickness. This ensures even cooking and prevents dry edges with an undercooked center.
- For a richer flavor, toast the breadcrumbs in a bit of olive oil before coating the chicken. This step adds a nutty aroma and a deeper golden color.
- To achieve a golden cheese topping, use the broiler during the final minutes of baking. This method intensifies heat from above, promoting browning. Monitor closely to prevent overcooking or burning, ensuring the cheese reaches the desired color.
- If your sauce seems too watery, simmer it on low heat until it thickens. This prevents the dish from becoming soggy and enhances the flavor.
Variations
- For a budget-friendly option, substitute chicken thighs for breasts. They are often cheaper and provide a richer flavor due to higher fat content.
- For a gluten-free version of this recipe, substitute regular breadcrumbs with gluten-free ones. Additionally, check that your tomato sauce does not contain any gluten-based additives or thickeners.
- Incorporate seasonal vegetables like zucchini or eggplant by layering them with the chicken before baking for added nutrition and flavor.
- For a vegetarian version, replace chicken with thick slices of eggplant. The eggplant should be salted and drained to remove excess moisture before breading.
Storage
To store leftover baked chicken parmesan, place it in an airtight container and refrigerate for up to three days. For freezing, ensure the chicken is fully cooled, then wrap each piece in plastic wrap before placing them in a freezer-safe bag. This method allows for storage in the freezer for up to two months. Be aware that freezing can alter the breadcrumb texture, potentially reducing crispiness when reheated. For best results, reheat in an oven to help restore some of the original texture and warmth.
How to Reheat
To reheat, place the chicken parmesan in a preheated oven at 350°F (175°C) for 15 to 20 minutes. This ensures the cheese is melted and the chicken stays juicy. Alternatively, use a microwave set to medium power for 2 to 3 minutes. Check frequently to prevent the chicken from drying out, ensuring it remains tender and the cheese is properly melted.
FAQ
Can I use pre-cooked chicken for this recipe?
Certainly, pre-cooked chicken can be used in this recipe, though the texture might be slightly different from using raw chicken. To avoid overcooking, reduce the baking time accordingly. It’s crucial to ensure the chicken reaches an internal temperature of 165°F (74°C) to guarantee it is safe to eat. This adjustment will help maintain the dish’s intended quality while ensuring food safety standards are met.
What can I use instead of panko breadcrumbs?
If you don’t have panko breadcrumbs on hand, you can substitute with regular breadcrumbs or crushed cornflakes. Regular breadcrumbs will offer a finer texture, while crushed cornflakes will add a slightly sweeter crunch. Both alternatives will still provide a satisfying crispy coating for your baked chicken parmesan. Just ensure that the coating is evenly applied to achieve the best results. Adjust the seasoning as needed to maintain the desired flavor profile of the dish.
How can I prevent the chicken from becoming dry?
To keep your chicken from becoming dry, make sure not to overcook it. A meat thermometer is essential for checking that the internal temperature reaches 165°F (74°C). This ensures the chicken is cooked through without losing its juiciness. Additionally, generously covering the chicken with marinara sauce and mozzarella cheese before baking helps lock in moisture, creating a succulent dish. This method not only enhances the texture but also infuses the chicken with rich flavors.
Is it possible to make this dish dairy-free?
Certainly, you can prepare this dish without dairy by opting for cheese substitutes that are free from dairy. Choose options that melt effectively and enhance the overall taste of the dish. It’s important to read the packaging carefully to ensure there are no allergens or additives that you wish to avoid. Many stores offer a variety of dairy-free cheeses, so you can select one that suits your preferences and dietary needs.
Can I prepare this dish in advance?
Certainly, you can prepare the chicken and coat it with breadcrumbs ahead of time. Once breaded, place it in an airtight container and refrigerate for up to 24 hours before baking. This method allows the ingredients to blend well and helps streamline the cooking process, making it more efficient when you’re ready to bake. Just ensure the chicken is properly stored to maintain freshness and quality.
Achieving the perfect baked chicken parmesan relies on maintaining a crispy crust while ensuring the chicken remains juicy. By pre-baking the chicken and using a combination of cheeses, you can create a dish that’s both satisfying and simple to prepare.