
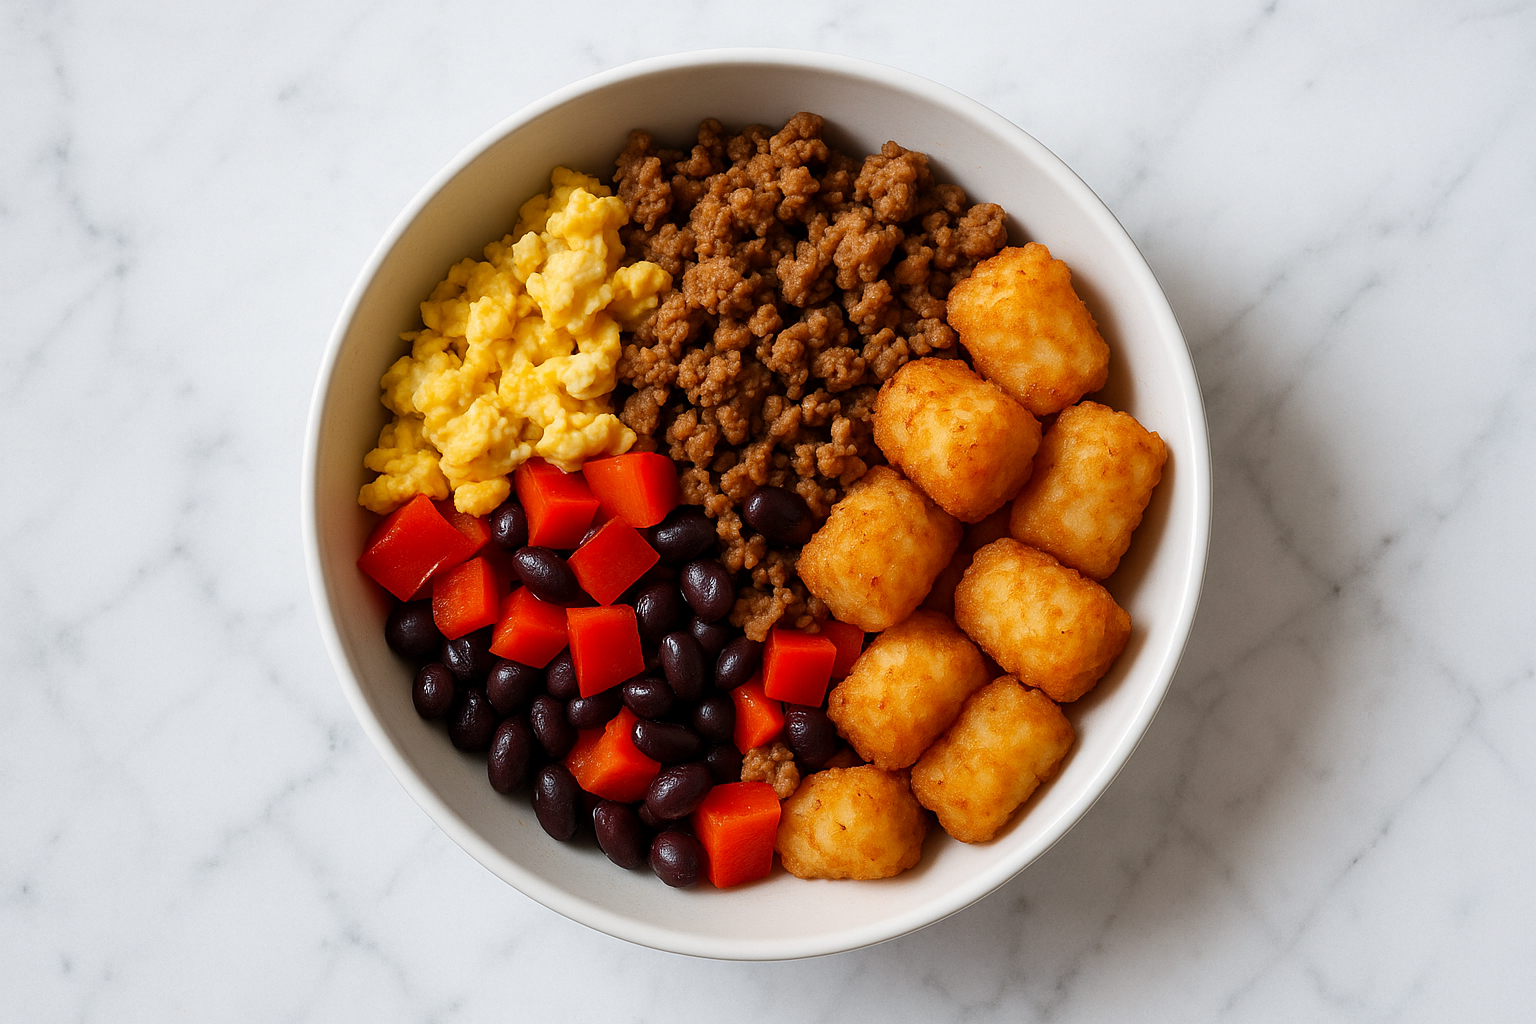
When hunger strikes at night, a late night high protein cooked snack can be the perfect solution. This recipe focuses on creating a satisfying texture with a crispy exterior and tender interior. The aroma of roasted spices fills the kitchen, making it a comforting choice. With minimal preparation and quick cooking time, this snack is ideal for those moments when you need something nourishing yet simple to prepare.
Why This Recipe Works
- Using chickpeas as the base provides a high-protein content, making this snack both filling and nutritious, perfect for late-night cravings.
- Roasting the chickpeas at a high temperature ensures a crispy texture, enhancing the overall eating experience and providing a satisfying crunch.
- A blend of spices adds depth and warmth, creating an aromatic profile that complements the natural flavors of the chickpeas.
- The addition of lemon juice brightens the dish, balancing the rich spices and providing a refreshing contrast to the roasted elements.
Late Night High Protein Cooked Snack
Ingredients
- 2 tbsp olive oil
- 1 can chickpeas drained and rinsed
- 1 tsp cumin ground
- 1 tsp paprika
- 1/2 tsp cayenne pepper adjust to taste
- 1 tsp garlic powder
- 1/2 tsp salt
- 1/4 tsp black pepper
- 1 tbsp lemon juice freshly squeezed
Instructions
- Set your oven to 400°F (200°C) and allow it to preheat thoroughly. Prepare a sturdy sheet pan by lining it with parchment paper, which will prevent the chickpeas from sticking and promote even roasting. This preparation step also simplifies cleanup, saving time and effort after baking.
- In a large bowl, mix the drained and rinsed chickpeas with olive oil, ensuring each one is thoroughly coated. This coating allows the spices to stick effectively and ensures the chickpeas roast evenly, achieving a golden brown color and a satisfying crunch during baking.
- Sprinkle cumin, paprika, cayenne pepper, garlic powder, salt, and black pepper over the chickpeas in the bowl. Mix thoroughly, ensuring each chickpea is well-coated with the spices. The chickpeas should appear evenly covered, with a vibrant color and aromatic scent, indicating they are ready for the next step.
- Arrange the chickpeas evenly on the prepared baking sheet, ensuring they are in a single layer. This promotes uniform heat exposure, preventing them from steaming and becoming soft. Bake in the preheated oven at 400°F (200°C) for 20-25 minutes, stirring halfway through, until they are golden and crisp.
- Place the chickpeas in a preheated oven set to 400°F (200°C) and roast for 20-25 minutes. Shake the pan gently halfway through to ensure even cooking. Listen for a popping sound, which signals that the chickpeas are crisping up and nearing completion.
- To ensure the chickpeas are ready, sample one to check its texture. The exterior should be crisp and the interior soft. If the desired crispness is not achieved, continue roasting them in the oven for an additional 5 minutes, then reassess.
- Take the tray out of the oven and promptly drizzle the hot chickpeas with lemon juice. The residual heat allows the lemon juice to permeate, enhancing the overall aroma and creating a subtle tang. Ensure even distribution by gently shaking the tray, allowing the juice to coat each chickpea thoroughly.
- Once removed from the heat, let the chickpeas rest on the pan for about 10 minutes. This allows them to cool slightly and continue to crisp as steam escapes. You'll notice a satisfying crunch developing, and the chickpeas will achieve a golden hue, enhancing their texture and appeal.
- Once the chickpeas are roasted to a golden brown and emit a nutty aroma, transfer them to a serving bowl. They can be enjoyed immediately while warm, or allowed to cool slightly for a different texture. Store any leftovers in shallow containers and refrigerate within two hours.
- Once the chickpeas have cooled to room temperature, transfer them into a shallow, airtight container. This will help preserve their texture and prevent them from becoming soft. Store the container in a cool, dry place, away from direct sunlight, to keep the chickpeas crisp and ready for your next snack.
Notes
Pro Tips
- To achieve the best crunch when roasting chickpeas, make sure they are completely dry. Any remaining moisture can hinder the chickpeas from reaching their optimal crispy texture, as it creates steam during roasting, softening the surface.
- Use parchment paper on the baking sheet to prevent sticking and ensure even roasting. This also makes cleanup easier and keeps the chickpeas from burning.
- To tailor the spice level to your liking, adjust the cayenne pepper. Increasing it will enhance the heat, while decreasing it will result in a milder taste. This flexibility allows you to customize the snack to suit your palate.
- To achieve a crunchy texture, continue roasting chickpeas in 5-minute increments if they remain soft after the initial time. Frequent checks are essential to prevent them from burning, ensuring they reach the desired crispiness.
- Store roasted chickpeas in an airtight container to maintain their crispiness. If they become soft, reheat them in the oven for a few minutes to restore texture.
Variations
- For a budget-friendly option, use dried chickpeas instead of canned. Soak and cook them before roasting to save on cost.
- To make it gluten-free, ensure all spices and seasonings used are certified gluten-free, as some spice blends may contain gluten.
- Incorporate seasonal herbs like rosemary or thyme to add a fresh twist. These herbs pair well with the earthy flavor of chickpeas.
- For a Mediterranean-inspired variation, add feta cheese and olives after roasting. This adds a salty, tangy element to the dish.
Storage
To ensure freshness and safety, place any leftovers in shallow, airtight containers and refrigerate them within two hours of cooking. These can be stored in the refrigerator for up to three days. If you wish to keep them longer, freeze the chickpeas without toppings for up to three months. Be aware that freezing might alter the texture, potentially reducing crispiness. However, reheating them in the oven can help regain some of the original texture. Always reheat leftovers containing chickpeas to an internal temperature of 165°F (74°C) before consuming.
How to Reheat
For reheating, arrange the chickpeas evenly on a baking sheet and place them in an oven preheated to 350°F (175°C). Heat for 5-7 minutes, ensuring they are thoroughly warmed. Alternatively, place them in a microwave-safe dish, cover, and heat on medium power for 1-2 minutes. Stir halfway through and check that the internal temperature reaches 165°F (74°C) to ensure they are safe to eat.
Related Recipes
- High Protein Dinner Without Meat in 20 Minutes
- 5 High-Protein Breakfast Meal Prep Ideas (25–35g Protein Each)
- High-Protein Chicken & Egg Fried Rice (30g Protein Per Serving)
FAQ
Can I use other legumes instead of chickpeas?
Yes, you can substitute chickpeas with other legumes like black beans or lentils. However, note that the texture and cooking time may vary. Lentils, for instance, might not achieve the same level of crispiness due to their smaller size and different starch content.
What can I do if my chickpeas are not crispy enough?
To achieve crispy chickpeas, start by ensuring they are completely dry before roasting. Pat them with a towel to remove excess moisture. If they still lack crunch, try raising the oven temperature slightly or extend the roasting time by 5-minute intervals. Check frequently to avoid burning and reach the desired texture. Adjusting these factors should help you get the perfect crispy chickpeas for your late-night snack.
How can I make this recipe vegan?
This recipe is inherently vegan, relying solely on plant-based ingredients. To maintain its vegan nature, verify that all spices and seasonings do not contain animal-derived components. If you wish to add toppings like cheese, opt for plant-based alternatives to keep the dish vegan-friendly. Additionally, ensure any sauces or condiments used are free from animal products, preserving the recipe’s vegan integrity while providing a high-protein snack.
What is the best way to serve this snack?
Serve the roasted chickpeas warm, either on their own or as a topping for salads and soups. They also pair well with dips like hummus or tzatziki, adding a crunchy texture and enhancing the overall flavor profile of the dish.
Can I prepare this snack in advance?
Certainly, you can prepare the chickpeas ahead of time and keep them in an airtight container to maintain freshness. When you’re ready to enjoy them, simply reheat in the oven to bring back their crisp texture. This approach offers a practical solution for those with busy schedules or when unexpected guests arrive, ensuring you have a nutritious snack ready without the need for last-minute preparation.
The key to this recipe is achieving the perfect roast on the chickpeas, ensuring a crispy texture that satisfies late-night cravings. By following the roasting tips and adjusting the spices to your liking, you can create a snack that’s both nutritious and enjoyable.