
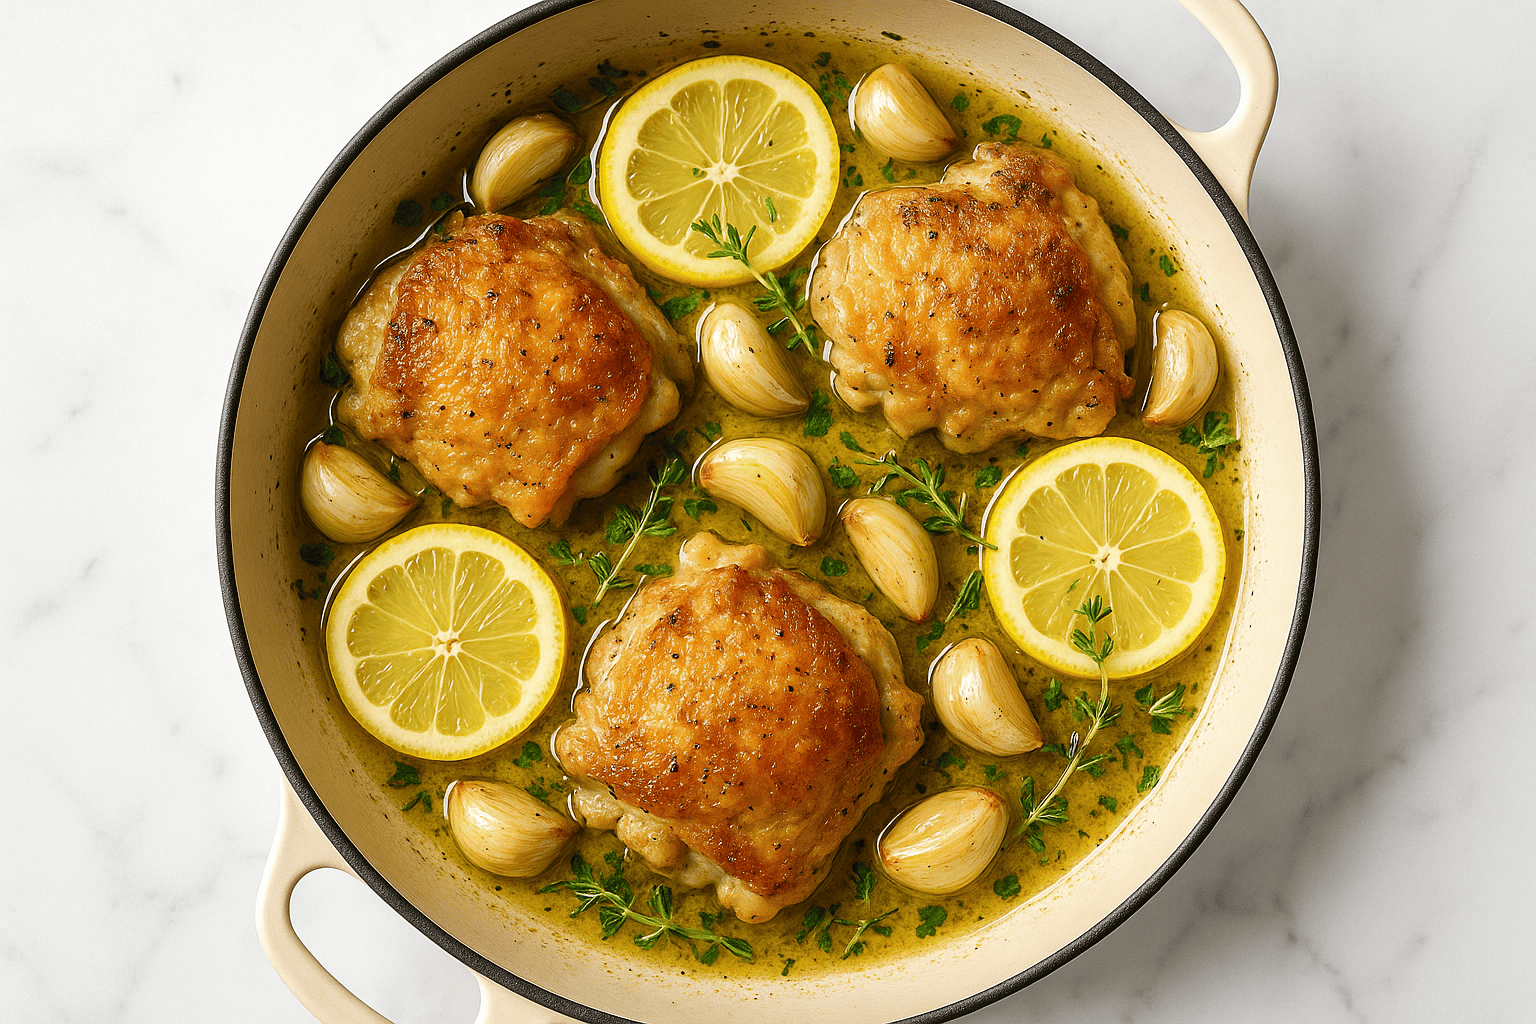
This one-pan lemon garlic chicken is a quick and efficient way to bring together tender chicken with a bright, tangy sauce. Using just one burner, it simplifies your cooking process and reduces cleanup time. As the chicken sears, it forms a golden crust, while the aroma of garlic and lemon permeates the kitchen. In under 30 minutes, you can enjoy a meal where the vibrant sauce coats each piece of chicken, creating a pleasing contrast between the crispy exterior and juicy interior.
Why This Recipe Works
- Using one pan simplifies cleanup, making it efficient for busy nights. The chicken is cooked entirely in a single skillet, reducing dishwashing time and effort.
- The lemon juice and zest add a bright acidity that balances the richness of the chicken, creating a well-rounded flavor profile without overwhelming the palate.
- Searing the chicken initially creates a golden crust, enhancing texture and depth of flavor through the Maillard reaction, which is essential for developing complex taste profiles.
- The garlic is sautéed until fragrant, infusing the oil with its aroma before the lemon juice is added, creating a cohesive sauce that coats the chicken.
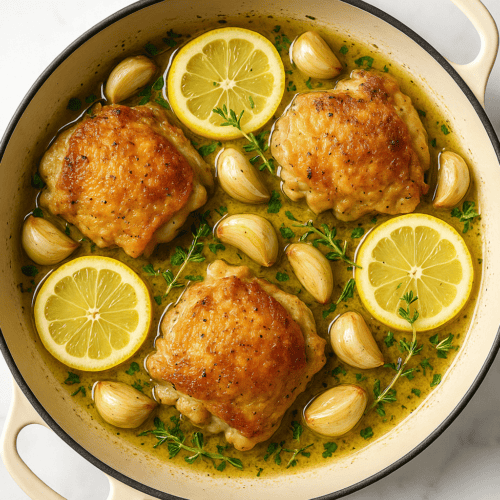
One-Pan Lemon Garlic Chicken
Ingredients
- 2 tbsp olive oil divided
- 4 chicken breasts boneless, skinless
- 1 tsp salt
- 1/2 tsp black pepper
- 4 cloves garlic minced
- 1 lemon juiced and zested
- 1/2 cup chicken broth
- 1 tbsp parsley chopped, for garnish
Instructions
- Heat 1 tablespoon of olive oil in a large skillet over medium-high heat. Season the chicken breasts with salt and pepper. Once the oil shimmers, add the chicken to the skillet.
- Heat olive oil in a skillet over medium-high heat. Place chicken breasts in the skillet, searing them for 5-6 minutes per side. Cook until they develop a golden brown crust and the internal temperature reaches 165 F. Remove chicken from the skillet and set aside to rest.
- Lower the heat to medium and pour in the remaining tablespoon of olive oil. Add the minced garlic, stirring continuously. Cook until the garlic releases its aroma and turns a light golden color, approximately 30 seconds, ensuring it does not burn by keeping it moving in the pan.
- Add the lemon juice and zest to the skillet, ensuring you scrape up all the browned bits from the bottom. This deglazing process should be done over medium heat, allowing the liquid to simmer gently and enhance the sauce's complexity and aroma.
- Pour the chicken broth into the skillet, ensuring it covers the bottom. Stir gently to incorporate any browned bits. Allow the liquid to come to a gentle simmer over medium heat for 2-3 minutes, watching as it reduces slightly and thickens, creating a more concentrated sauce.
- Return the chicken to the skillet, spooning the sauce over the top. Allow it to cook for an additional 2 minutes to absorb the flavors.
- Observe the sauce's thickness. If it appears too thin, allow it to continue simmering over medium heat for an additional minute. Should it become overly thick, incorporate a small amount of water, stirring gently to achieve the desired consistency. Ensure the sauce coats the back of a spoon smoothly.
- Before serving, sprinkle chopped parsley over the chicken to add a fresh, herbal aroma. This final touch enhances the dish's visual appeal and provides a vibrant contrast to the golden-brown chicken. Ensure the parsley is evenly distributed for a consistent flavor in each bite, complementing the citrusy notes of the lemon sauce.
- Serve the chicken with the sauce drizzled over, pairing with rice or vegetables to complete the meal.
- To achieve a crispier texture on the chicken, transfer it to a preheated broiler for 2-3 minutes. Keep a close eye on it to avoid burning, as the high heat can quickly overcook the surface. Remove when the skin is golden brown and crispy.
Notes
Pro Tips
- Ensure the skillet is hot before adding the chicken to prevent sticking and to achieve a proper sear. This step enhances the flavor by creating a caramelized crust.
- Use fresh lemon juice for the sauce to achieve a more vibrant and tangy flavor compared to bottled lemon juice, which can be less potent.
- If the sauce is too thin, let it simmer for an additional minute to thicken. This will help concentrate the flavors and improve the sauce’s consistency.
- To prevent the garlic from burning, add it to the pan only after the chicken is seared and removed. This ensures it cooks gently in the residual heat.
- If the chicken is overcooked, it can become dry. Use an instant-read thermometer to check that the internal temperature reaches 165 F for safe consumption.
Variations
- For a budget-friendly version, substitute chicken thighs for chicken breasts. Thighs are typically more affordable and remain juicy even if slightly overcooked.
- To make this dish vegetarian, replace the chicken with firm tofu. Press the tofu to remove excess moisture, then sear until golden on both sides before proceeding with the sauce.
- Incorporate seasonal vegetables like asparagus or zucchini by sautéing them alongside the chicken. This adds color and nutrients to the dish.
- For an Italian-inspired twist, add a handful of capers and a sprinkle of oregano to the sauce. This adds a briny depth and herbal note to the dish.
Storage
After cooking, promptly transfer leftovers into shallow, airtight containers and refrigerate within two hours to ensure safety. These can be stored in the refrigerator for up to three days. For extended storage, freeze the chicken and sauce separately for up to three months. Be aware that freezing may slightly change the chicken’s texture. When reheating, do so gently to preserve the dish’s quality. Ensure that any reheated portions reach an internal temperature of 165°F (74°C) for safe consumption.
How to Reheat
To reheat leftovers, place them in a skillet over medium heat, adding a splash of water to keep the sauce from drying. Stir occasionally and heat until the chicken reaches 165 F. Alternatively, microwave in a covered dish on medium power, stirring occasionally to ensure even heating and prevent overcooking.
Related Recipes
- One Pan Lemon Butter Salmon
- Quick One Pan Chicken Fajitas in 20 Minutes
- One-Pan Chicken Fajitas in 20 Minutes
FAQ
Can I use chicken thighs instead of breasts?
Yes, chicken thighs can be used instead of breasts. They are more forgiving if slightly overcooked due to their higher fat content, which keeps them juicy. Adjust the cooking time as thighs may take a bit longer to reach the safe internal temperature of 165 F.
How can I prevent the garlic from burning?
To avoid burning the garlic, introduce it to the pan only after the chicken has been removed. The remaining heat will be sufficient to cook the garlic gently, allowing its aroma to develop. Stir constantly and quickly add lemon juice to halt further cooking.
What can I serve with this dish?
Serve this lemon garlic chicken with a side of steamed rice or quinoa to soak up the sauce. A simple green salad or roasted vegetables like broccoli or carrots complement the flavors and add nutritional balance to the meal.
Is it possible to make this dish dairy-free?
Yes, this dish is naturally dairy-free. Ensure that any additional ingredients, such as a side dish or garnish, do not contain dairy. The sauce relies on olive oil and lemon for richness and flavor, avoiding the need for butter or cream.
How do I thicken the sauce if it’s too thin?
If the sauce is too thin, let it simmer for an additional minute or two. This will reduce the liquid and concentrate the flavors. Alternatively, mix a teaspoon of cornstarch with a tablespoon of water and stir it into the sauce, cooking until it thickens.
Achieving a well-browned chicken in one pan not only reduces cleanup but also develops a rich surface through the Maillard reaction. Pairing this with a vibrant lemon garlic sauce creates a dish that is both simple and rewarding to prepare.