
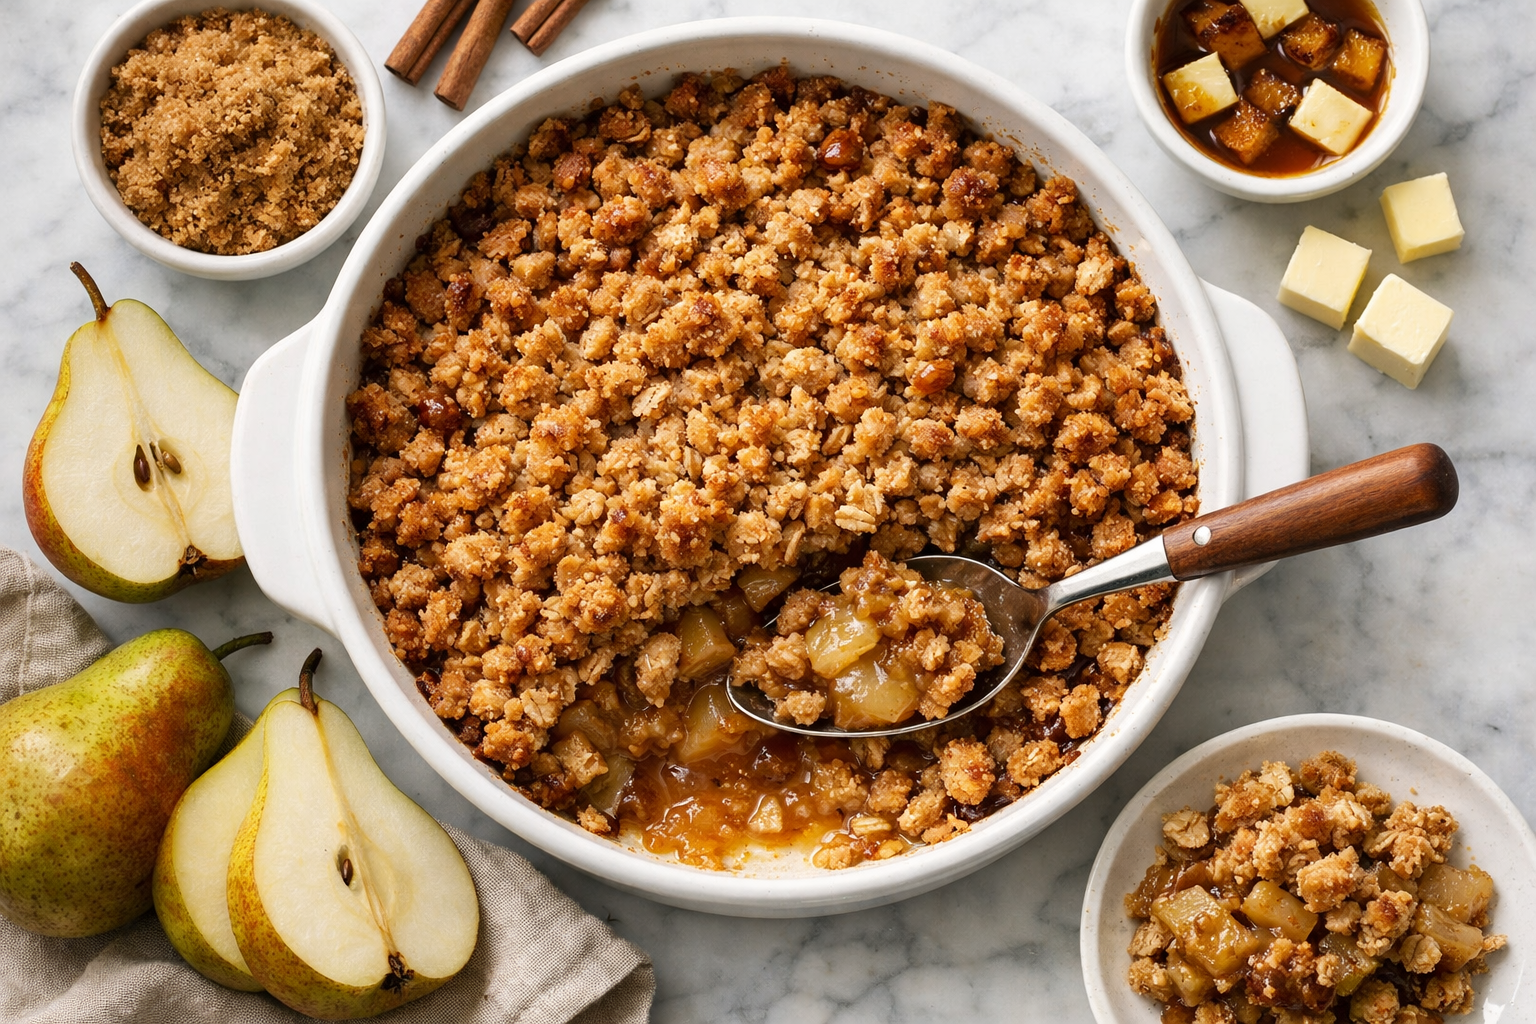
Brown butter pear crumble brings a warm, nutty aroma that fills the kitchen as the butter gently browns and the pears soften. The appeal lies in the contrast between the tender, juicy pears and the crunchy, golden topping. This dessert is prepared in less than an hour, making it an ideal choice for a comforting treat. The transformation of butter into a rich, golden liquid adds depth, while the pears release their natural sweetness, creating a pleasant balance of textures and flavors.
Why This Recipe Works
- Browning the butter adds a nutty depth that enhances the overall flavor profile, making the crumble more complex and satisfying.
- Ripe pears are essential as they soften during baking, releasing natural sugars and moisture, which enhances the overall texture and sweetness of the crumble.
- The crumble topping, crafted with oats and nuts, delivers a crunchy texture that contrasts beautifully with the tender, juicy pears underneath, enhancing the overall dessert experience.
- Using a moderate oven temperature ensures the pears soften properly while the crumble topping becomes golden and crisp, avoiding any risk of burning or undercooking.
Recipe at a Glance
| Detail | Value |
|---|---|
| Prep time | 15 min |
| Cook time | 35 min |
| Total time | 50 min |
| Servings | 6 |
| Calories (per serving) | 350 kcal |
| Protein (per serving) | 4 g |
| Carbohydrates (per serving) | 45 g |
| Fat (per serving) | 18 g |
| Fiber (per serving) | 4 g |
| Estimated cost per serving | ~$2.50 |
Nutrition and cost are per-serving estimates calculated from the ingredient quantities in the recipe card below; cost uses average US supermarket prices.
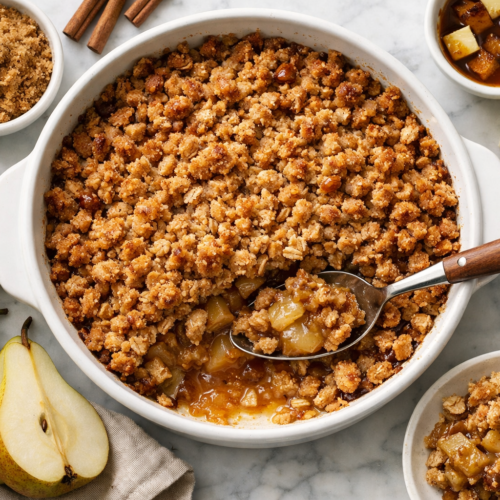
Brown Butter Pear Crumble
Ingredients
- 2 tbsp olive oil for greasing the pan
- 4 ripe pears peeled, cored, and sliced
- 1/2 cup unsalted butter browned
- 1/3 cup granulated sugar
- 1 tsp vanilla extract
- 1/2 tsp ground cinnamon
- 1 cup all-purpose flour
- 1/2 cup rolled oats
- 1/4 cup chopped nuts such as walnuts or pecans
- 1/4 tsp salt
- 1/4 cup brown sugar
Instructions
- Preheat your oven to 350°F (175°C). Grease a baking dish with olive oil to prevent sticking. This step ensures easy serving and avoids any burnt edges that might stick to the dish.
- In a saucepan over medium heat, melt the butter. Continue cooking until it turns a deep amber color and emits a nutty aroma. This process enhances the flavor profile of the crumble.
- In a large bowl, mix the sliced pears thoroughly with granulated sugar, vanilla extract, and ground cinnamon. Stir until the sugar dissolves slightly, and the pears are evenly coated. The mixture should be fragrant, with the cinnamon and vanilla enhancing the natural aroma of the pears.
- Carefully transfer the pear mixture into the prepared baking dish, ensuring it is spread evenly across the bottom. This step is crucial for achieving uniform cooking and even flavor distribution. Make sure the pears are not piled up, as this allows for proper heat circulation and prevents uneven baking.
- In a separate bowl, combine the flour, oats, chopped nuts, salt, and brown sugar. Gradually incorporate the browned butter, mixing until the texture becomes crumbly and resembles coarse sand. Ensure the mixture is evenly coated with butter, creating a uniform consistency without any large clumps remaining.
- Evenly sprinkle the crumble topping over the pears, covering them completely. This layer will bake into a golden, crunchy topping that contrasts with the soft pears.
- Place the dish in the preheated oven set to 350°F (175°C) and bake for 35-40 minutes. The crumble is done when the topping turns a rich golden brown and the pears are soft and easily pierced with a fork. Check for bubbling juices around the edges.
- About 20 minutes into baking, inspect the crumble. If the topping appears to be browning excessively, tent it with foil. This will help prevent burning while ensuring the pears continue to soften and release their juices, achieving a tender texture.
- After baking, take the crumble out of the oven and place it on a wire rack. Allow it to cool for approximately 10 minutes. This cooling time helps the juices redistribute, ensuring that the crumble holds together better when you serve it.
- Serve the crumble warm, optionally with a scoop of vanilla ice cream or a dollop of whipped cream. The contrast between the warm crumble and cold cream enhances the dessert experience.
Notes
Pro Tips
- Select pears that are firm yet ripe for this crumble. These pears maintain their structure during baking, ensuring the dessert retains a pleasant texture without turning overly soft or mushy, which can happen with overly ripe fruit.
- To achieve the best results, cook the butter until it turns a rich amber hue and releases a nutty scent. This transformation occurs due to the Maillard reaction, enhancing the depth and complexity of the crumble’s flavor.
- To avoid the topping browning too fast, cover the dish with foil. This shields the topping from direct heat, allowing the pears to cook through without the topping burning, ensuring an even texture throughout the crumble.
- To create a gluten-free alternative, replace the all-purpose flour with almond flour. This substitution not only ensures the crumble remains gluten-free but also introduces a mild nutty essence while preserving the desired crumbly texture.
- To prevent a dry crumble, slightly increase the butter in the topping. This adjustment improves moisture retention and helps the topping adhere better, creating a more cohesive texture. The extra butter also aids in achieving a more appealing golden-brown color.
Variations
- For a budget-friendly version, use canned pears instead of fresh ones. Drain them well to avoid excess liquid in the crumble.
- For a vegan version, substitute the butter with a plant-based option and verify that the sugar used is certified vegan. This ensures the crumble aligns with vegan dietary preferences.
- Swap out some of the pears for seasonal fruits such as apples or plums. Adjust the sugar quantity to suit the sweetness of the chosen fruits, ensuring a balanced dessert.
- Add a teaspoon of cardamom and a pinch of saffron for an Indian-inspired twist, enhancing the warmth and depth of the dessert.
Storage
To store leftover brown butter pear crumble, place it in shallow, airtight containers and refrigerate within two hours of baking. It will remain fresh for up to four days in the refrigerator. For extended storage, freeze the crumble for up to three months. Be aware that freezing may slightly alter the topping’s texture, making it softer. To thaw, transfer the crumble to the refrigerator overnight. When ready to serve, reheat thoroughly to an internal temperature of 165 F (74 C) before enjoying.
How to Reheat
To reheat, place the crumble in a preheated oven at 350°F (175°C) for 15-20 minutes until warmed through. Alternatively, microwave individual portions on medium power for 1-2 minutes. Ensure the center reaches an internal temperature of 165°F (74°C) to prevent foodborne illness. Cover with foil or a microwave-safe lid to retain moisture and prevent drying out.
Related Recipes
- One Pan Lemon Butter Salmon
- Baked Cod with Lemon Butter
- Garlic Butter Shrimp Pasta in 15 Minutes: Quick & Flavorful
FAQ
Can I use other fruits in this crumble?
Certainly, you can replace or include other fruits such as apples, plums, or berries in the brown butter pear crumble. When doing so, consider adjusting the sugar level to match the sweetness of the chosen fruit. Additionally, if you opt for firmer fruits, they might need a bit more time in the oven to reach the desired tenderness. Monitor the crumble closely to ensure all fruits are cooked to your liking.
How do I prevent the topping from burning?
If the topping browns too quickly, cover the dish loosely with foil. This will allow the pears to continue cooking without further browning the topping. Check periodically and remove the foil for the last few minutes to crisp up the top.
What type of pears work best for this recipe?
For the best results in your brown butter pear crumble, choose pears that are firm yet ripe, like Bosc or Anjou varieties. These pears maintain their structure during baking, offering a pleasing balance of sweetness and texture. Avoid using overripe pears, as they can become overly soft, leading to a less desirable consistency in the crumble. Ensuring the right pear choice will enhance the overall texture and enjoyment of the dish.
Can I prepare the crumble in advance?
Certainly, you can prepare the crumble in advance by assembling it a day prior to baking. Keep it covered in the refrigerator until you’re ready to bake. This resting period allows the ingredients to blend well. Before baking, let the crumble sit at room temperature for about 30 minutes to ensure it cooks evenly. This step helps achieve a consistent texture throughout the dish. Enjoy your dessert fresh from the oven for the best experience.
Is it possible to make this crumble gluten-free?
Certainly, you can replace the all-purpose flour with almond flour or a gluten-free flour blend to suit dietary needs. When making this substitution, ensure that the oats you use are certified gluten-free. This will help maintain the dish’s texture and flavor while accommodating those with gluten sensitivities. Additionally, keep in mind that almond flour may impart a slightly nutty taste, which can complement the pears beautifully in this crumble.
The essential technique in this recipe is browning the butter, which imparts a nutty aroma and depth to the crumble. When paired with the pears’ inherent sweetness, this method results in a dessert that balances warmth and elegance, making it a standout choice.